


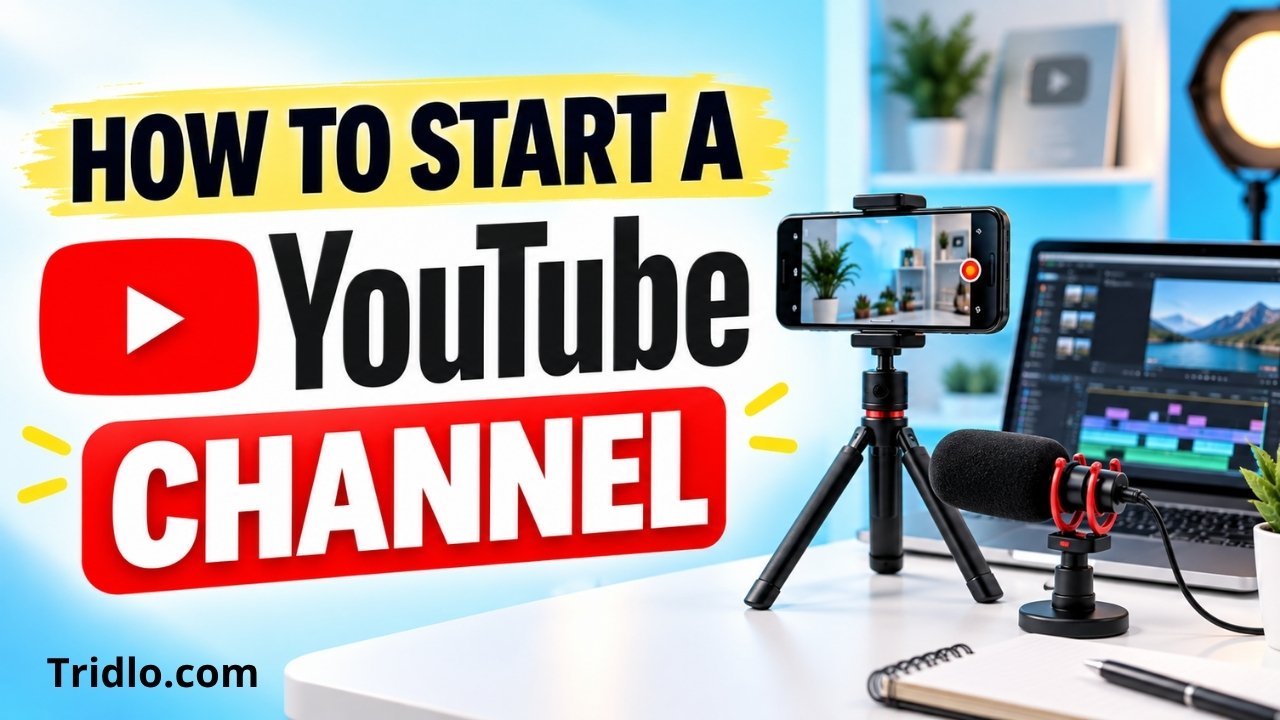
Learning how to start a YouTube channel begins with a few practical decisions: who you want to reach, what you can help them do, and how you will make videos consistently. You can start with a Google account and a phone you already own. Expensive equipment can wait until you know what your videos actually need.
This guide walks you through creating your channel, planning your first uploads, recording with a basic setup, and publishing your first video. You will also learn which channel settings to review before making your content public.
How to Start a YouTube Channel Step by Step
The basic process is straightforward:
- Choose an audience and a clear topic.
- Create your channel through your Google account.
- Add a recognizable name, profile picture, and description.
- Plan a small group of related videos.
- Record and edit your first upload.
- Add an accurate title and thumbnail.
- Publish, review the response, and improve the next video.
Creating the account is the quick part. Choosing videos that deserve someone’s time takes more thought.
Choose a Topic You Can Keep Creating Around
Start with the overlap between what you know, what you enjoy explaining, and what a specific audience wants to watch. You do not need to be the leading expert in a field, but you should be honest about your experience and research anything you present as fact.
Define the Viewer Before the Channel Name
A broad category such as technology leaves many decisions unanswered. A channel about simple computer fixes for beginners has a clearer purpose. So does a cooking channel focused on weeknight meals for people living alone.
Try completing this sentence: “My channel helps [specific audience] achieve [specific result] through [type of video].”
For example: “My channel helps new creators record better videos with their phones through simple filming tutorials.”
That sentence gives you a useful filter. A video about setting up phone lighting fits because it helps the same viewer solve a related problem.
Check Whether You Have Enough Useful Ideas
Write down ten questions your intended viewer might ask. Look at YouTube search suggestions, relevant videos, and their comments to understand the language people use and what still confuses them.
Treat those observations as clues, not verified search-volume data. Look for opportunities to explain a difficult step, show a real example, or address an overlooked beginner problem.
Choose a topic you can explain accurately and return to regularly. Interest in the subject will make researching and recording your first videos more manageable.
Create and Set Up Your Channel
On a computer, sign in to YouTube with your Google account. Open your profile menu, go to Settings, and choose Create a new channel. Select your name, handle, and profile picture, then confirm the creation. YouTube documents this process in its official getting-started guide.
Your channel name is the public label viewers recognize. Your handle is the unique identifier beginning with @. Keep both easy to read, say, and remember.
Give Visitors a Clear Reason to Subscribe
Open YouTube Studio and customize your channel. Add a simple banner, a recognizable profile image, and a description explaining what viewers can expect. Include a website or business contact address if relevant.
For a phone-video channel, a description might read: “Simple filming tutorials for new creators. Learn how to light your shots, record clearer audio, and make videos with the phone you already own.”
Preview your branding on a phone. Small text and busy graphics often become unreadable. A brief description and clean image are enough to launch; you can refine the design later.
Protect Access to Your Account
Use a unique password, enable two-step verification, and keep your recovery information current. Keep these account-security settings separate from channel feature verification. Phone verification can unlock custom thumbnails and uploads longer than 15 minutes. Follow YouTube’s official account verification instructions to complete that step. Some advanced features require additional verification or sufficient channel history.
Keep copies of your scripts, original recordings, and finished videos. An organized backup folder also makes future revisions easier.
Pick a Video Format That Fits Your Subject
Different formats solve different problems. Choose based on what the viewer needs and what you can produce reliably.
| Format | Useful for | Main challenge |
|---|---|---|
| Longer videos | Tutorials, demonstrations, and detailed explanations | More planning and editing |
| Shorts | One quick tip, a brief demonstration, or a focused idea | Limited room for context |
| Live streams | Questions, discussions, and real-time demonstrations | Less opportunity to correct mistakes before viewers see them |
If your topic requires several steps, begin with a regular video. If you can deliver a complete useful idea quickly, a Short may fit. Live streaming becomes more practical when you have a clear event or conversation to offer.
You can combine formats, but keep the intended audience consistent. A short keyboard tip and a detailed computer tutorial can support the same channel. Unrelated viral clips may attract people who have little interest in your main work.
Start With Equipment You Already Have
Before buying anything, record a short test with your current setup. Watch it on another device and listen through headphones. Check whether your voice is understandable, the subject is visible, and the framing feels stable.
How to Start a YouTube Channel With Your Phone
Clean the camera lens, place the phone on a stable surface, and face a window or another soft light source. Record in a quiet room and keep the microphone reasonably close to your voice.
For a standard widescreen video, frame horizontally. For a vertical video, compose the shot vertically from the start so the important details fit naturally.
A phone works well for demonstrations, talking-head videos, and many hands-on tutorials. For software instruction, screen recording may communicate the steps more clearly than pointing a camera at a monitor.
Upgrade the Problem You Can Actually Hear or See
| Problem | First adjustment | Possible purchase if needed |
|---|---|---|
| Speech sounds distant | Move closer and reduce room noise | Compatible external microphone |
| Footage shakes | Place the device on a stable surface | Tripod or phone mount |
| Face looks too dark | Change position relative to the light | Small video light |
| Editing feels difficult | Simplify the edit and shorten recording sessions | Software or hardware that addresses a specific limitation |
Check compatibility before buying a microphone or accessory. A useful purchase fixes a recurring production problem. It does not need to make your desk look like a studio.
Plan Your First Three Videos Together
Give your channel a small starting library rather than treating every upload as a separate experiment. Three related videos help you practice a repeatable format and give interested viewers somewhere to go next.
For a channel about creating videos with a phone, a starting sequence could be:
- How to set up your phone for recording.
- How to light a video using a window.
- How to record clearer audio in a small room.
Each video answers one question while serving the same person. You can mention the next tutorial when it becomes relevant.
Build a Simple Outline
For each video, write down the promised result, the necessary steps, one useful example, and the next action for the viewer.
Show the result early when possible. A tutorial about fixing an error can begin with the error itself and a preview of the working result. Save a lengthy personal introduction for a video where your background is relevant.
Read your opening aloud before recording. If it takes too long to explain what the viewer will learn, make the promise more specific.
Record and Edit for Clarity
Record in manageable sections so a mistake does not force you to restart the entire video. Leave brief pauses between points to make editing easier.
For screen recordings, enlarge small text and move the cursor deliberately. Close personal tabs and hide notifications before you begin. Check that account details or private messages are not visible.
During editing, remove repeated explanations, dead time, and distractions. Keep pauses that help viewers follow a difficult step. Background music is optional; your explanation should remain easy to hear.
Use original footage and keep track of any permissions or licenses for outside assets. Do not assume that material found online is available for your upload.
Watch the exported video from beginning to end. Check sound, spelling, framing, and whether the finished video actually fulfills its title.
Upload Your First Video Carefully
In YouTube Studio, choose Create, then Upload videos, and select your file. Add the title, description, thumbnail, and audience setting. Complete any applicable disclosure fields, review the checks, and choose whether to save privately, publish, or schedule. YouTube’s video upload instructions explain these fields.
Write a Title With a Specific Promise
“My First Video” gives an unfamiliar viewer little reason to click. “How to Record Clear Audio With Your Phone” tells them exactly what they will learn.
Use the main topic naturally. Avoid repeating keyword variations or promising a result the video does not deliver.
Make the Thumbnail Understandable at a Glance
Choose one main visual and use strong contrast. If you add text, keep it brief and readable on a phone. The thumbnail should support the title by showing the task, problem, or result.
A lighting tutorial could show the same subject before and after a simple lighting adjustment. That comparison demonstrates the result viewers can expect.
Complete the Publishing Details
Use the description to explain the video’s value and provide relevant resources. Add chapters when they help viewers navigate. Review captions for incorrect names or technical terms.
Choose the audience setting accurately and complete applicable branded-content or realistic altered-content disclosures. YouTube notes that tags generally play a small role in discovery outside uses such as common misspellings, so spend more effort on the video and its presentation.
Before publishing, review playback and allow the desired video quality to finish processing.
Check Your Channel Before Sharing It
Open your public channel page and review it as a first-time visitor. Confirm that the name, profile picture, banner, and description communicate the same topic.
Then check your first video:
- The title and thumbnail describe what the video delivers.
- Speech is clear on both a phone speaker and headphones.
- On-screen text is readable on a small display.
- Captions reflect what you actually say.
- The description contains only relevant information and working links.
- The visibility setting matches your intention to publish or keep the video private.
When you have several related uploads, organize them into a playlist so viewers can follow the sequence. Keep the channel page simple while you build your starting collection.
Use Your First Upload to Improve the Next One
After publishing, review any viewer questions and note which production steps took the most effort. Choose one practical improvement, such as clearer audio, a shorter opening, or a better demonstration.
Early viewing data can be limited. Use it cautiously and focus on developing a repeatable recording and editing routine.
A Practical First-Month Plan
Use this schedule as a starting point and adjust it to your available time.
| Week | Focus | Deliverable |
|---|---|---|
| 1 | Choose your audience and finish basic setup | Channel profile and three related video outlines |
| 2 | Record, edit, and review | First published video |
| 3 | Improve one production problem | Second video for the same audience |
| 4 | Review feedback and continue the series | Third video and a plan for the next month |
One manageable upload schedule is enough to begin. Leave room for research, editing, and learning rather than promising a pace you cannot sustain.
Frequently Asked Questions
Is It Free to Start a YouTube Channel?
Yes. Creating a channel and uploading videos do not require a paid YouTube subscription. Production costs depend on your equipment and workflow. Using your existing phone and a basic editing setup can keep the starting cost low.
Can I Start a Channel Without Showing My Face?
Yes. Screen demonstrations, hands-only tutorials, and narrated original visuals can work well. Choose a format that makes the subject easy to follow and gives viewers something useful to watch.
Do I Need a Separate Google Account?
You can use an existing Google account. A dedicated account may make organization easier if you want to separate channel work from personal activity. Either way, protect access and maintain recovery information.
What Should My First YouTube Video Be About?
Answer one specific question your intended audience has. Choose something you can demonstrate clearly with your current skills and equipment. A helpful standalone video gives new viewers a better introduction than a vague announcement.
How Often Should a Beginner Upload?
Choose a pace you can maintain while still preparing each video properly. Weekly uploads may work for simple formats, while research-heavy videos may need more time. Start conservatively and adjust after you understand the workload.
Do I Need Several Videos Before Launching?
No. You can begin with one finished video. Planning a few related follow-ups gives you a direction, but you do not need to complete a large catalog before publishing your first useful upload.
Publish One Video You Can Build On
The most useful way to learn how to start a YouTube channel is to complete the process once. Pick a viewer, answer a focused question, and publish a video you have checked carefully. Then use what you learned to make the next one easier to produce and more useful to watch.